Your system comes pre-configured with refunds requiring an access code. The default refund code is 8520, but you can change this to a 4-digit code of your choice. You also have full control over which staff members can process refunds.
🖥️ To Configure Refund Settings in the Web Portal:
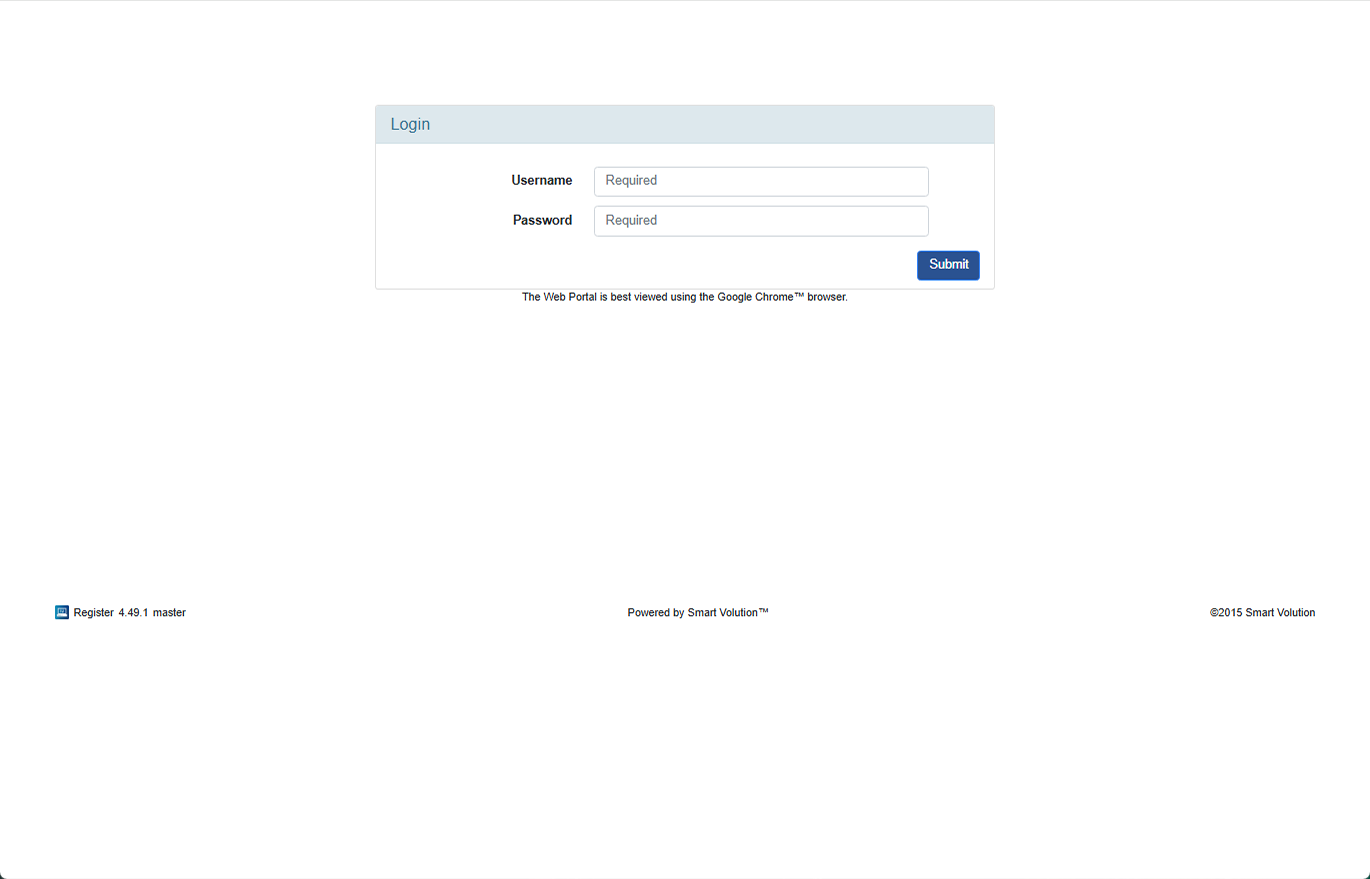
- Log in to the Web Portal using the credentials provided by your Solution Provider.
- Click Config in the top navigation bar.

- Select Profiles from the sub-menu.
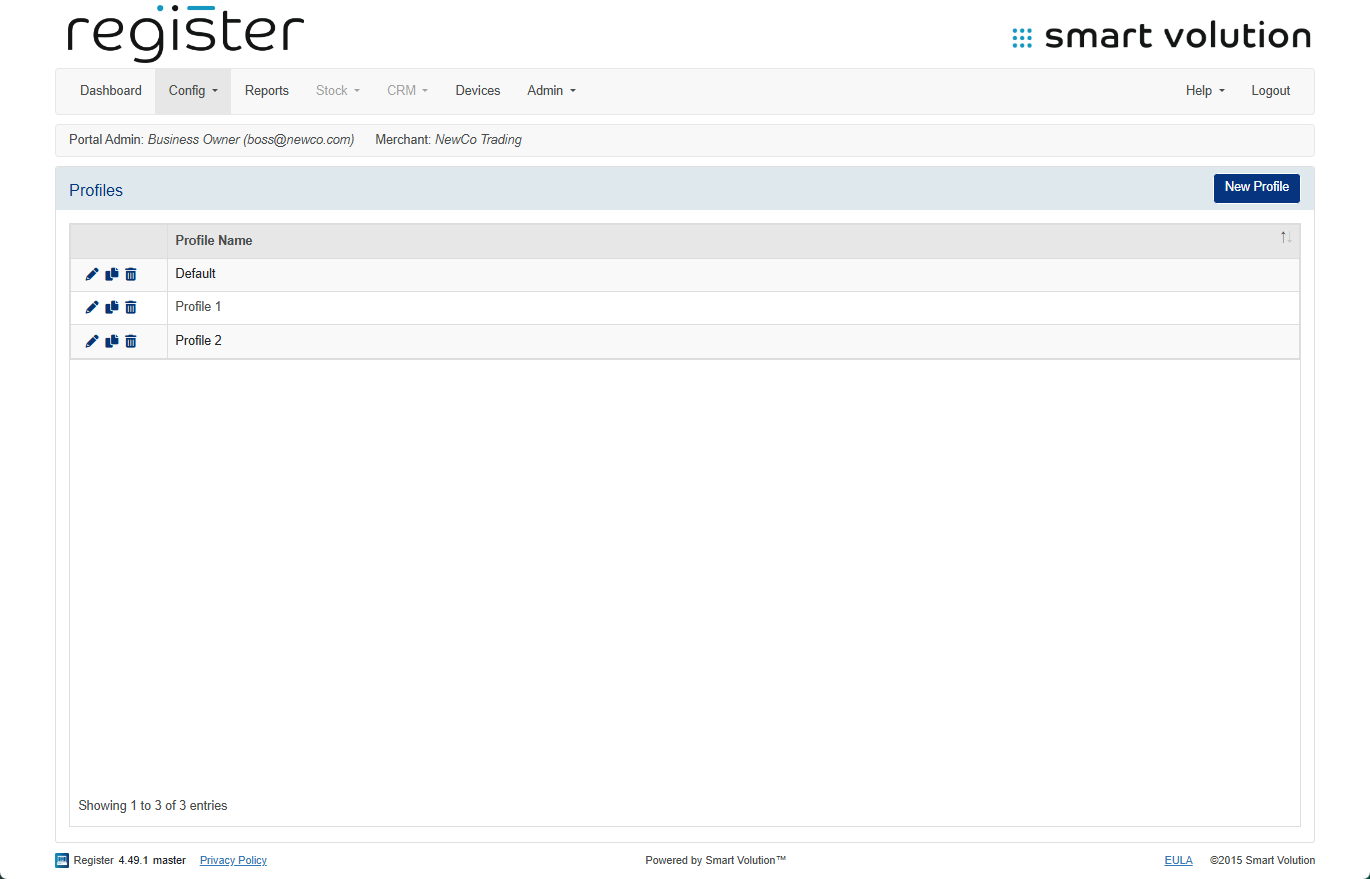
- Locate the Profile assigned to your device, then click the Edit ( ✎ ) icon.
- Not sure which profile your device uses? You can check under the Devices tab.
- Not sure which profile your device uses? You can check under the Devices tab.
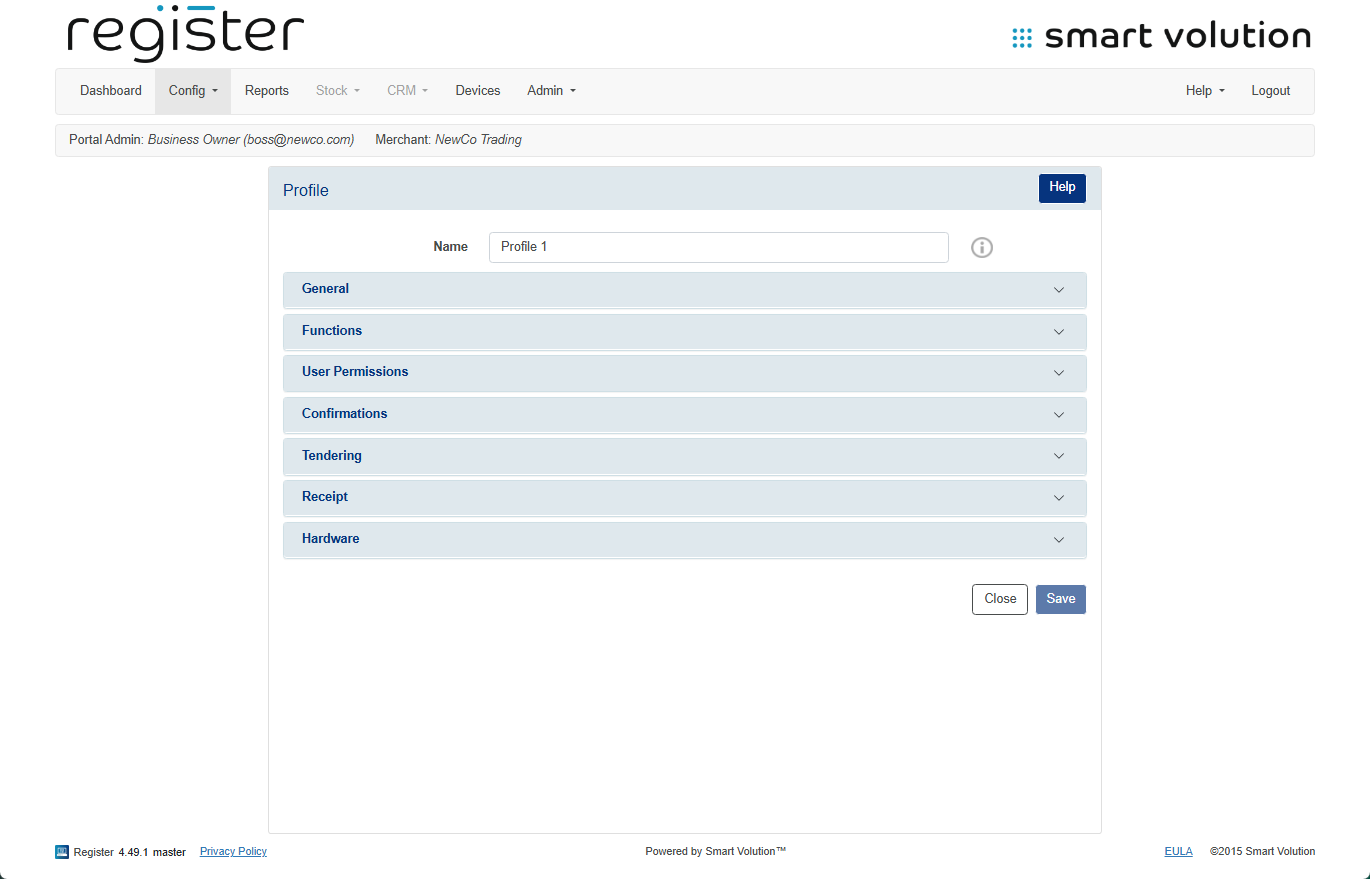
- Expand the User Permissions section.
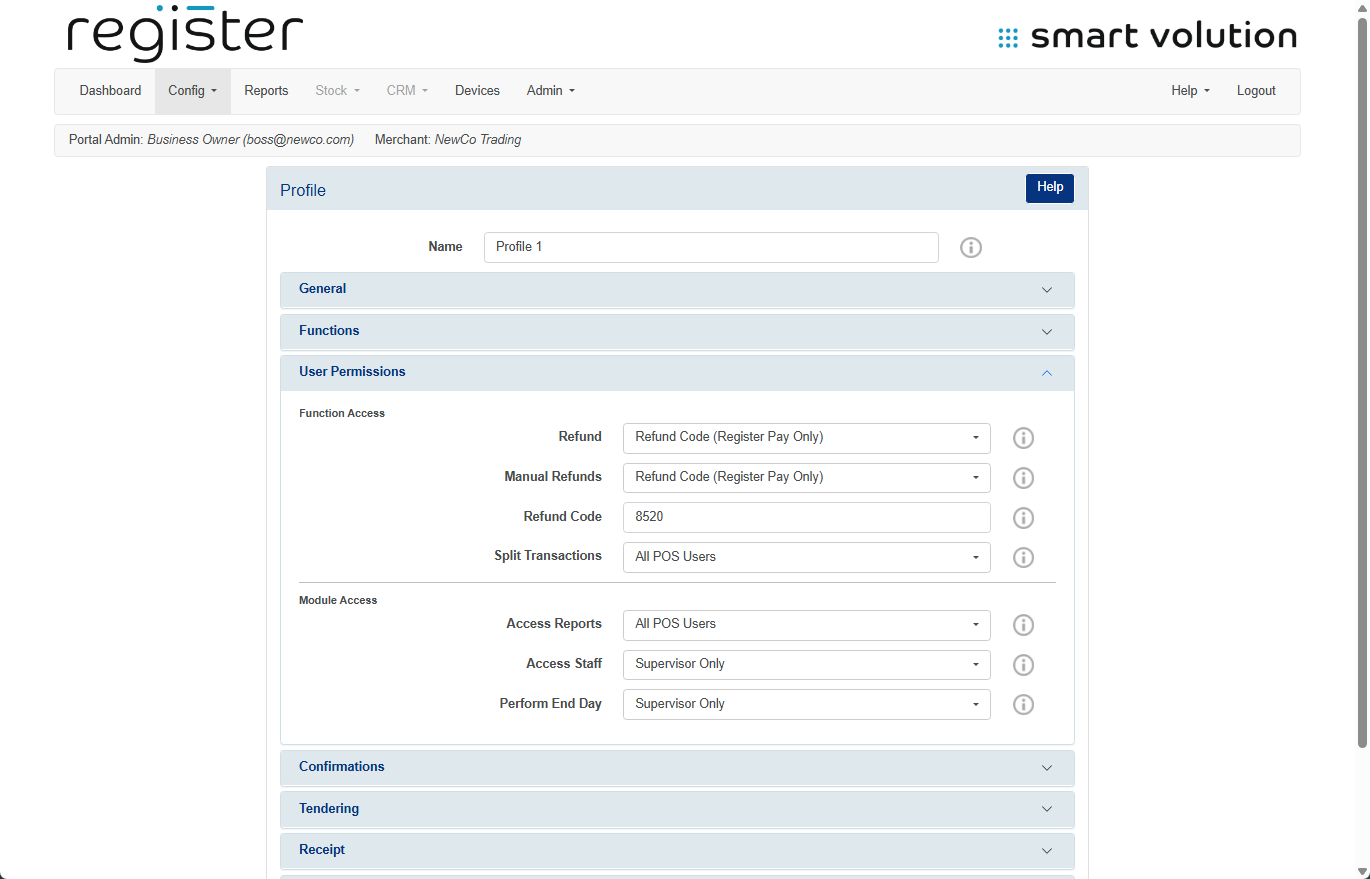


🔧 Update Refund Access Settings:
- Change the refund code
Enter your preferred 4-digit code in the Refund Code text box. - Adjust who can access refunds
From the Refund dropdown, choose one of the following options:
| Option | Description |
|---|---|
| All POS Users | Anyone can perform refunds. No code required. |
| Disabled | Disables the refund feature entirely. |
| Refund Code | Requires all users to enter the refund code. |
| Supervisor Approval | Requires a supervisor’s staff code for refund approval. |
| Supervisor Only | Only supervisors can perform refunds. |
- Click the Save button at the bottom of the screen.
📱 Apply Changes to Your Device:
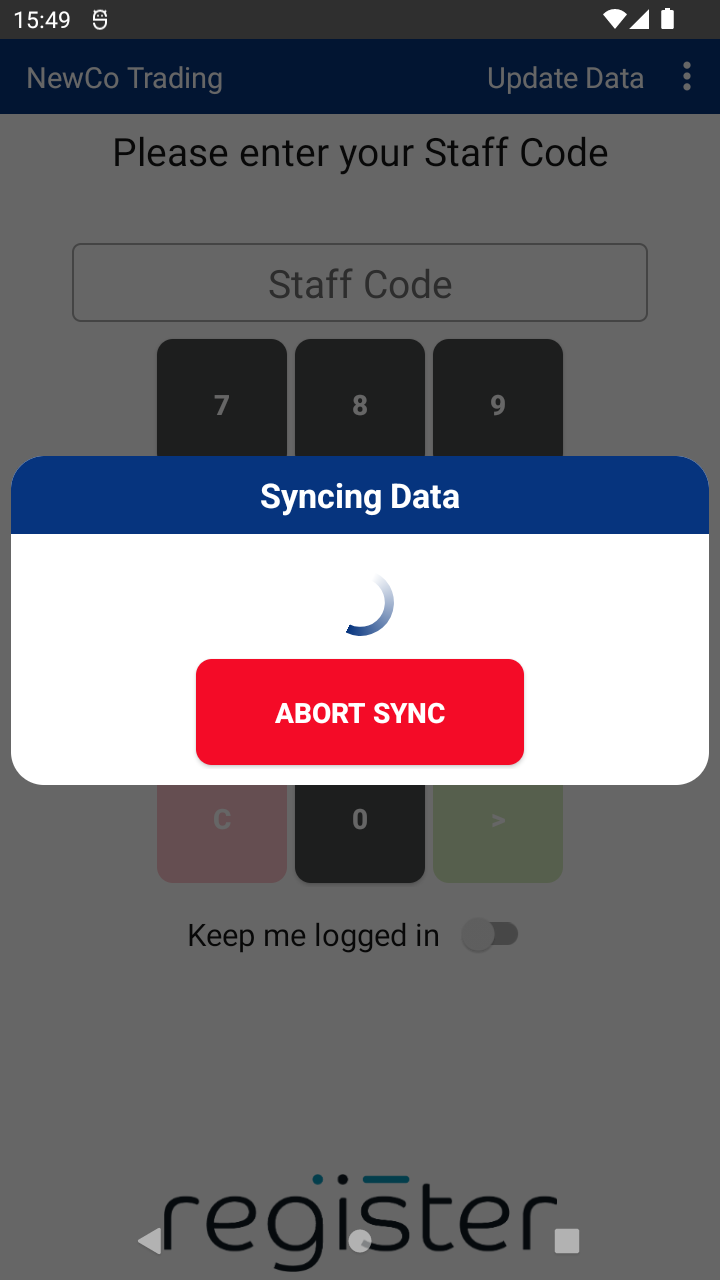
- On your device’s login screen, tap the Update Data button (top right corner) to sync the updated configuration.